1.Introduction
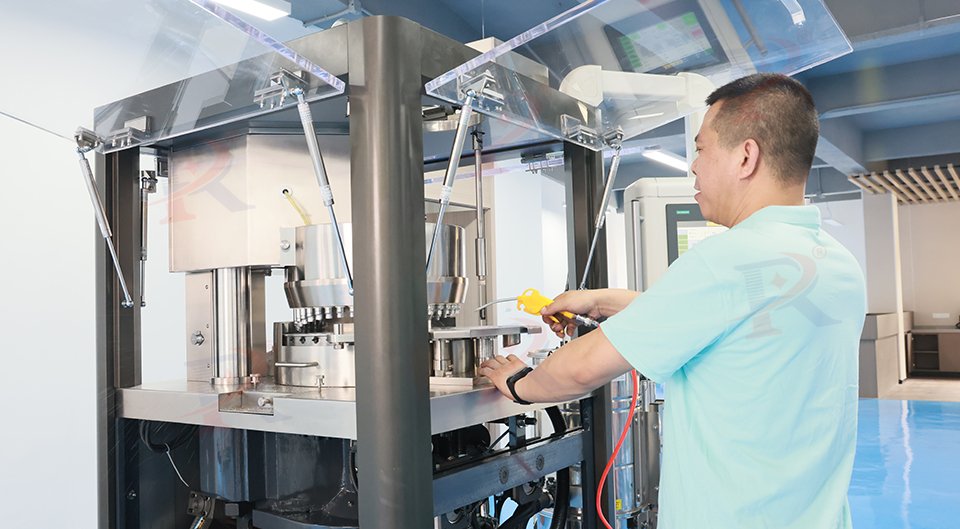
In the pharmaceutical industry, maintaining the cleanliness of equipment is paramount. Tablet press machine, one of the most critical pieces of machinery in any pharmaceutical manufacturing facility, requires regular cleaning to ensure product quality and safety. In this guide, we will walk you through the steps needed to clean your tablet press machine effectively and safely.
2.Importance of Regular Cleaning
Regular cleaning of rotary tablet press machine is essential for several reasons:
Product Quality: Contamination can lead to cross-contamination between batches, compromising product quality.
Regulatory Compliance: Regulatory bodies require strict adherence to good manufacturing practices (cGMP).
Extend machine life: Regular cleaning can extend the service life of the tablet press.
3.Safety precautions
Before you start cleaning, make sure you take the correct safety measures:
Turn off the power and gas: unplug the gas pipe and power cord to prevent accidents.
Personal protection: wear anti-static gloves, goggles and masks to prevent chemicals and dust from causing harm to the human body.
4.Cleaning Products and Tools
To clean tablet making machine effectively, you’ll need the following supplies:
Cleaning Solutions: Use mild detergents, isopropyl alcohol, and water.
Tools: Brushes, sponges, rags, and compressed air.
Protective Gear: Gloves, goggles, and a face mask.
5.Step-by-Step Cleaning Procedures
5.1 Disassembly
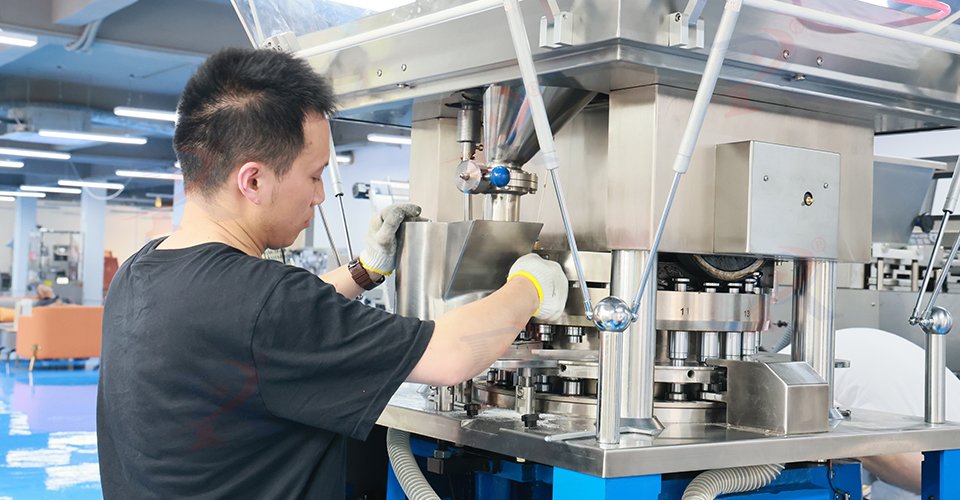
According to the instruction manual of the tablet compression machine of Ruidapacking, disassemble the parts that need to be cleaned in an orderly manner, and place each part in different collection devices, marking them to ensure correct reassembly.
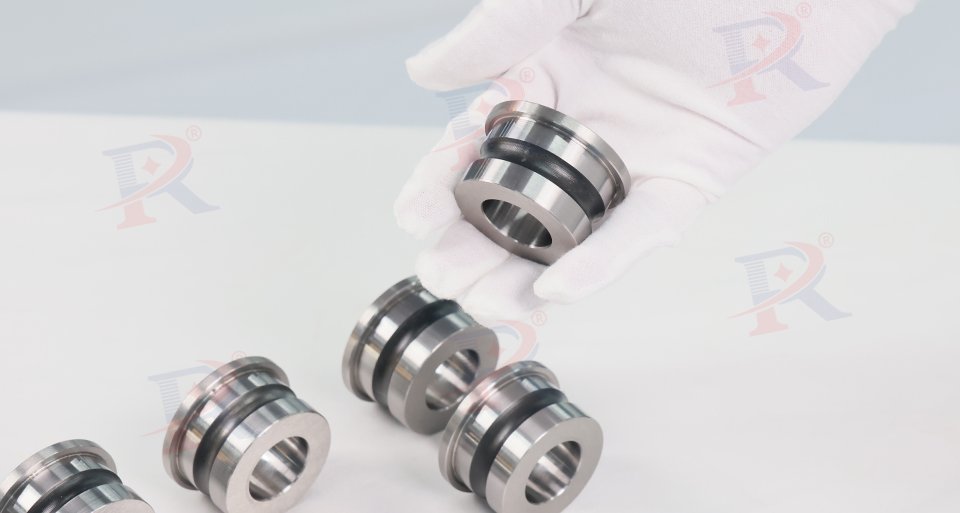
5.2 Cleaning the Die Set
Preliminary cleaning
Remove residual material: Use compressed air or a soft brush to remove any residual material on the mold.
Check the mold surface for wear: if worn, replace it immediately.

Use a cleaning agent
Choose the right cleaning agent: Use a mild cleaning agent such as water and a mild detergent solution or 95% ethanol.
Soak the mold: Soak the mold in the cleaning agent for a period of time, usually 15 minutes to 1 hour, depending on the type of cleaning agent and the recommended soaking time.
Deep cleaning
Use a soft brush: Use a soft brush to gently brush all parts of the mold, especially those hard-to-reach corners.
Pay special attention to the contact surface of the mold: Make sure the contact surface of the mold is thoroughly cleaned to ensure a good seal and even pressure distribution.
Rinse and dry
Rinse thoroughly: Rinse the mold thoroughly with clean water to ensure that all cleaning agents are removed.
Air dry or blow dry with an air gun: Allow the mold to dry completely. You can use compressed air to help speed up the drying process, or let the mold air dry naturally.

Check the mold
Check for damage: Check the mold again for any signs of damage or wear.
Evaluate the condition of the mold: If there are damaged molds, consider repairing or replacing them.

Rust prevention
Spray rust inhibitor: For molds that have not been used for a long time, you can spray rust inhibitor on the mold surface, especially on the mold cup surface.
Make sure the mold surface is clean: Before spraying rust inhibitor, make sure the mold surface is completely clean and there is no residual material.
Records
Fill in the cleaning record: After cleaning, record the cleaning date, cleaning agent used, and any problems found
5.3 Cleaning the Hopper and Feed System
Remove debris: Use a vacuum cleaner or air gun to remove powder and particles.
Wipe dry: Wipe dry the surface of the forced feeder with a damp cloth dipped in cleaning fluid.
Dry: Allow to air dry completely.

5.4 Cleaning the Punches
Initial Cleaning:
Remove Residue: Use compressed air or a soft brush to remove any residual material that may be on the punch.
Check the surface of the die punch: if there are scratches, wear, breakage, etc., the punch should be replaced.
Deep Cleaning:
Remove Adhesion with a Soft Brush: Use a copper wire brush to gently brush the adhesion on the punch. Avoid using a wire brush as it may scratch the surface of the punch.
Soak to Remove Stubborn Adhesion: If the adhesion is very difficult to remove, soak the punch in hot water for a few minutes. This will soften the adhesion and make it easier to remove.
Buff the Surface: Use a flannel cloth with a small amount of abrasive paste to wipe the surface of the punch to restore its shine.
Special Treatment:
Remove Carbide with Alcohol: If carbide is found on the punch, wipe it with a dry cloth first, then wet it with a small amount of alcohol and wipe it off.
Inspect and Treat Rust: If rust is found on the punch, wipe it immediately with a dry cloth. If it is difficult to remove, alcohol can be used to help remove it.
Drying and rust prevention:
Dry thoroughly: Use compressed air or a clean cloth to dry the punch thoroughly, making sure there is no moisture left.
Spray rust inhibitor: For punches that are not used for a long time, you can spray rust inhibitor on the surface of the punch, especially on the punch cup surface.
Make sure the punch surface is clean: Before spraying the rust inhibitor, make sure the punch surface is completely clean and there is no residual material.
5.5 Cleaning the Compression Rollers
Wipe Down: Wipe down rollers with a cloth soaked in a cleaning solution.
Inspect: Check for wear and tear and replace if necessary.
Dry: Allow to air dry.
5.6 Reassembly and Lubrication
Reassemble: Reassemble the machine in reverse order of disassembly.
Lubricate: Apply food-grade lubricant to moving parts.
Test: Run a test batch to ensure everything works correctly.
6.Maintenance Guidelines
To keep your automatic tablet press machine running smoothly, follow these maintenance tips:
Regular Inspections: Conduct visual inspections daily.
Scheduled Maintenance: Schedule maintenance checks at least once a year.
Calibration: Calibrate the machine regularly to ensure accuracy.
7.Conclusion
Regular cleaning and maintenance of your tablet press machine not only ensures compliance with regulatory standards but also extends the life of your equipment and maintains product quality. By following the steps outlined in this guide, you can keep your machine in top condition.
8.FAQs
Q: Can I use harsh chemicals to clean my tablet press?
A: It is not recommended to use harsh chemicals, as they can damage the machine and compromise product safety.
Q: How often should I clean my tablet press machine?
A: Cleaning frequency depends on usage and specific regulations. Generally, it’s advisable to clean after every batch change.
About how to cleaning automatic tablet press machine, if you want to know more, please contact ruidapacking engineer.


